How to Make a Fun and Refreshing Watermelon Shark for Your Summer Party
Looking for a fun and creative way to serve fruit at your next summer get-together? Try making a Watermelon Shark! This unique and tasty treat will be the highlight of any party, especially on a hot day. It’s a perfect blend of refreshing watermelon, colorful fruit, and a bit of Jello for that extra “water” effect.
Here’s how you can create your very own Watermelon Shark, step-by-step.
Supplies You’ll Need:
- 1 watermelon
- Blue Jello (for the “water”)
- Swedish Fish (for decoration)
- A melon scooper
- A sharp knife
- Your favorite snacks (e.g., watermelon chunks, grapes, blueberries)
- Toothpicks (for the fins)
Step-by-Step Instructions:
Step 1: Cut the Watermelon’s Base
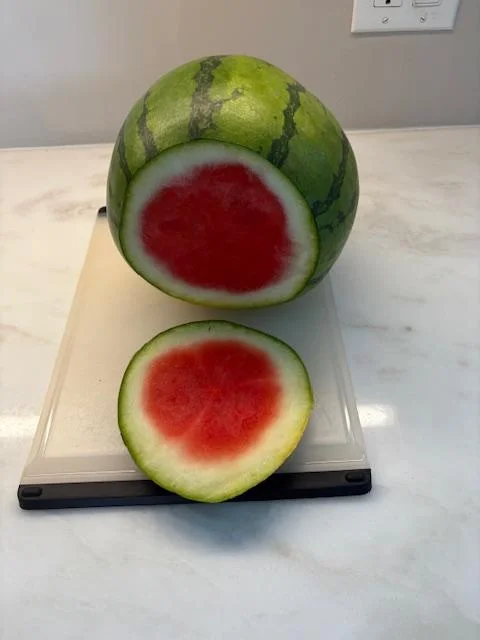
Start by cutting one end of the watermelon at an angle. This will create a stable base for your shark to sit on. While you don’t absolutely have to cut at an angle, it does help the shark sit more securely.
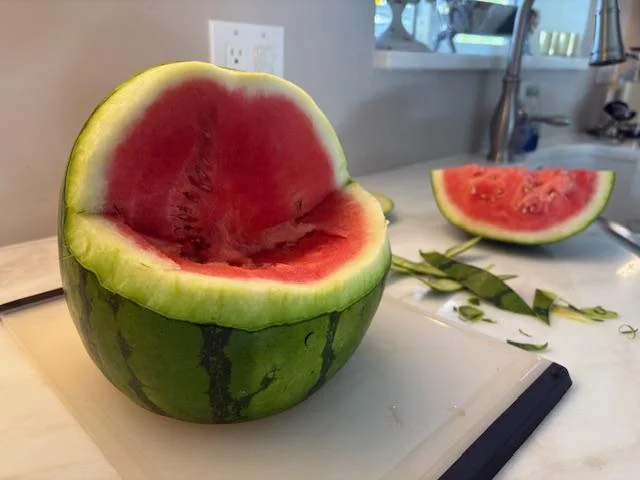
Step 2: Create the Mouth Opening
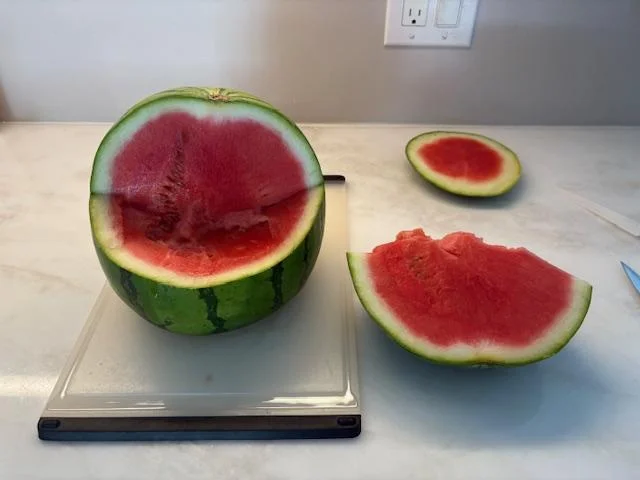
Next, carefully cut a large opening for the shark’s mouth. Aim for about a quarter of the watermelon to be cut away. This will serve as the entry point for your snacks and the place where the shark’s “teeth” will go.
Step 3: Remove the Watermelon Flesh
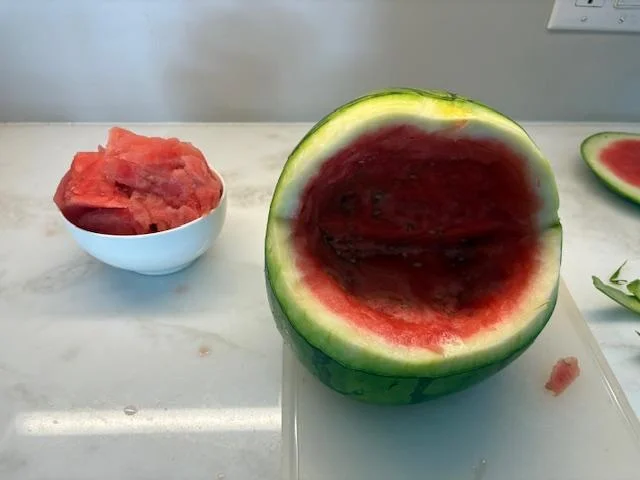
Now, scoop out the inside of the watermelon, saving the flesh to use later for snacks. Be careful while scooping—cut it as neatly as possible, as this will help your watermelon shark maintain a nice shape. If the mouth is uneven or too jagged, it may look a little awkward later when you fill it.
Step 4: Shape the Mouth
Trim the edges of the mouth to form a jagged pattern, creating the shark’s teeth. Don’t cut all the way through—just trim enough to reveal the white inner part of the watermelon, which will mimic the look of teeth.
Step 5: Cut the Teeth
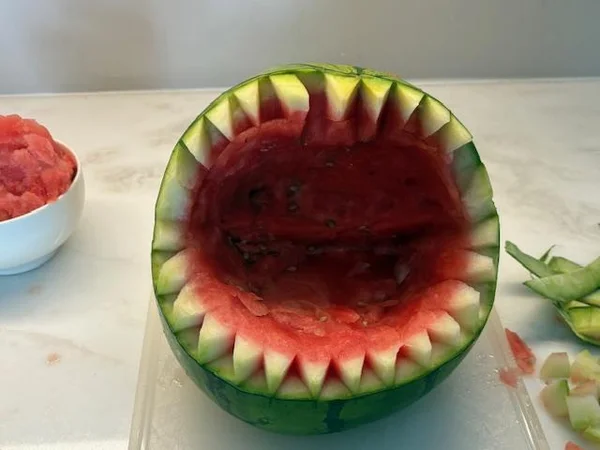
Using the remaining watermelon scraps, create zigzag shapes to form the shark’s teeth. You can leave these pieces in place for a more realistic effect. No need to throw them out—these scraps help bring your shark to life!
Step 6: Make Fins
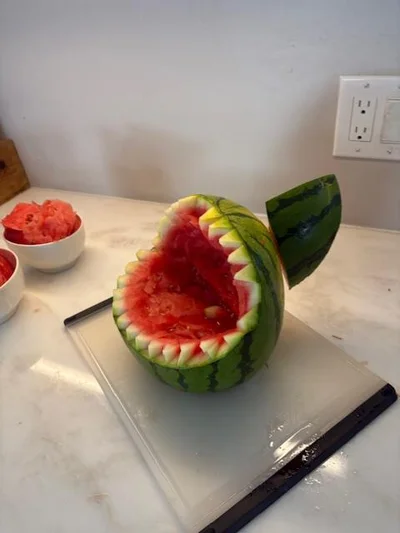
Next, take some of the leftover watermelon pieces and cut them into fin shapes. Attach these fins to the sides of your watermelon shark using toothpicks. These will help give your shark a more authentic appearance.
Step 7: Add Snacks and Jello

Now for the fun part! Fill the inside of the watermelon shark with your chosen snacks. I recommend using pieces of the watermelon you scooped out, as well as other fruits like grapes, blueberries, and even Swedish Fish for a fun touch. Once your shark is filled, pour blue Jello around the fruits to simulate water. It adds color and a fun texture to your shark.
Step 8: Serve and Enjoy!
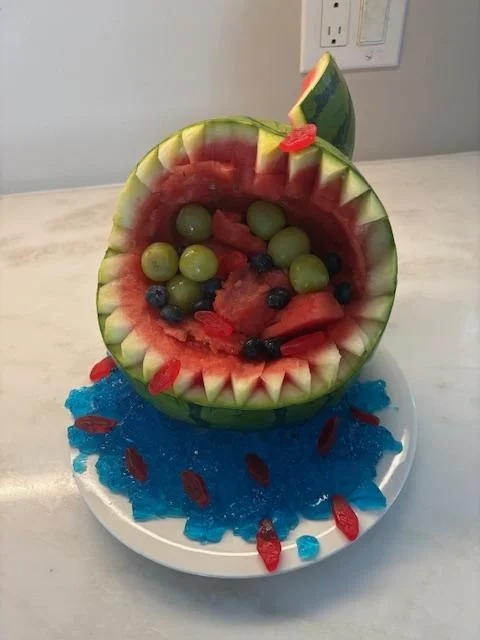
And that’s it—your Watermelon Shark is ready to go! It’s a fun, impressive centerpiece for your party, and it’s packed with delicious and healthy treats. Everyone will love the creativity, and it’s sure to be a hit with both kids and adults alike.
Enjoy your summer party with this delightful and refreshing Watermelon Shark!