Easy Paper Roses: A Step-by-Step Guide.
Making beautiful paper roses is a simple and fun craft project. Follow these steps to create stunning flowers using just a few basic supplies. Whether you’re decorating a space, making a gift, or just enjoying a creative activity, these paper roses are a perfect choice!
Supplies You’ll Need:
- Red cardstock paper
- Green construction paper
- Scissors
- Hot glue gun
- Pencil
- Ruler
Step 1: Prepare the Paper
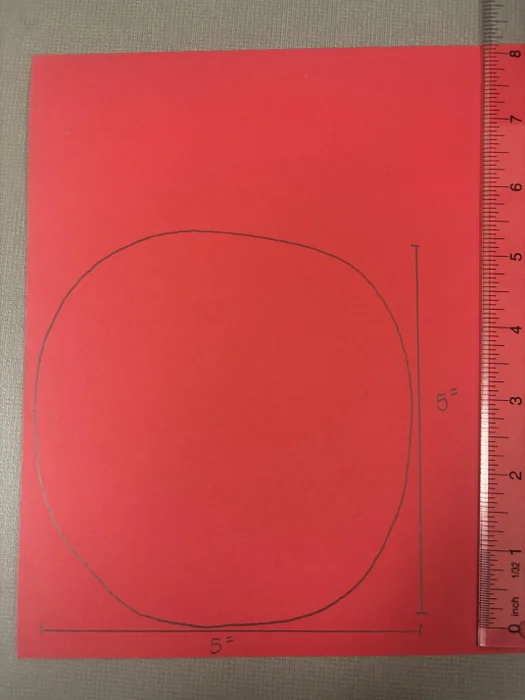
- Start by measuring and marking a 5×5-inch square on the red cardstock paper.
- Inside the square, draw a circle. Don’t worry about it being perfect—handmade looks charming!
Step 2: Cut Out the Circle and Draw a Spiral
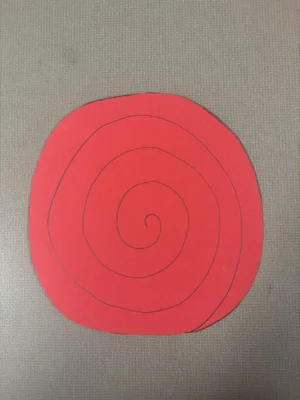
- Carefully cut out the circle.
- Draw a spiral shape starting from the outer edge of the circle and work your way inwards, spiraling until you reach the center.
- Cut along the spiral line to create a continuous strip of paper.
Step 3: Roll the Paper to Form the Flower
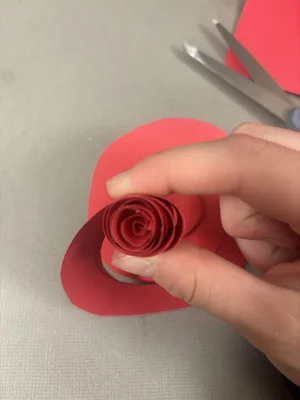
- Starting at the outer edge where you made your cut, begin rolling the paper tightly. Keep rolling until you reach the center.
- As you roll, hold it firmly to maintain the shape of the flower.
Step 4: Secure the Flower
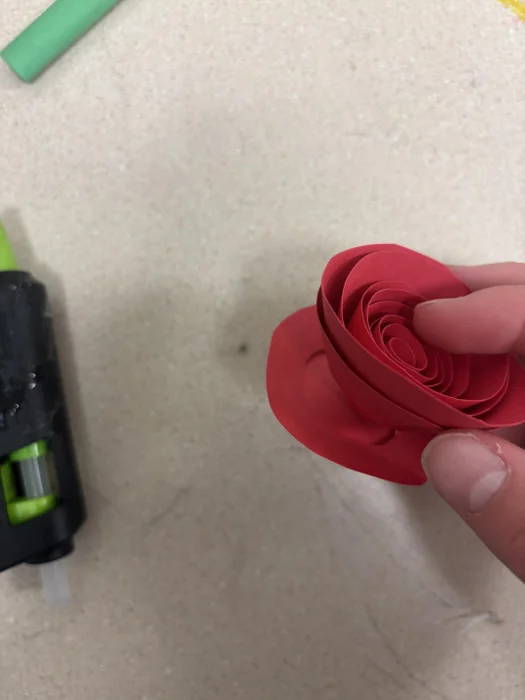
- Apply hot glue to the bottom center of the flower to hold it in place.
- Gently press down to ensure the flower stays securely rolled.
- And there you have it—a beautiful paper flower!
Step 5: Create the Stem
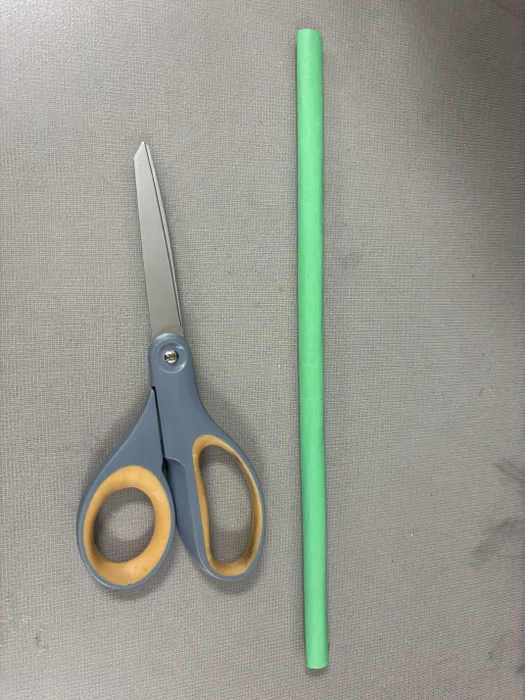
- Roll a piece of green construction paper into a tight cone shape to form the stem.
- Trim the stem to your desired length.
- Secure the edges of the cone with hot glue to ensure it holds its shape.
- Optionally, you can make a few small cuts at the top of the stem to create a base for the flower.
Step 6: Assemble the Flower and Stem

- Add a small amount of hot glue to the bottom of the flower.
- Attach the base of the stem to the glued area on the flower’s bottom.
- Press gently to secure the flower and stem together. Your rose is now complete!
Step 7: Final Touches
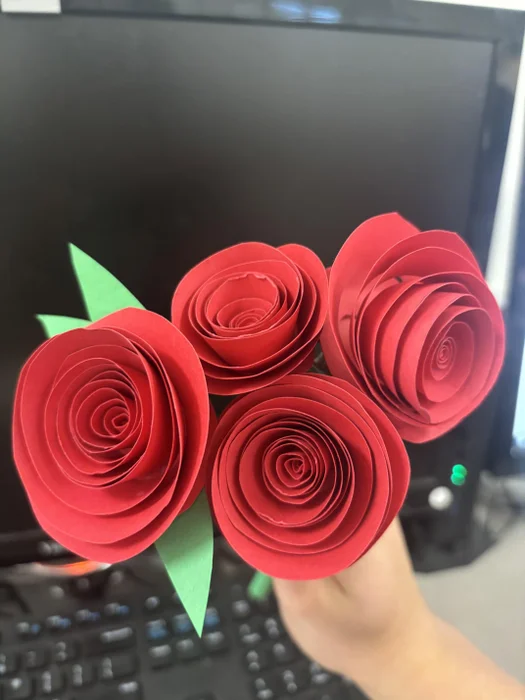
Now that your rose is assembled, consider adding a few green leaves for extra dimension and color. These can be cut from green construction paper and glued onto the stem or around the flower. Repeat the process to create a whole bouquet if you like!
Tips for Success:
- Don’t worry about perfect shapes—imperfections make the flowers feel more natural.
- Experiment with different sizes and colors of cardstock for unique roses.
- If you’re making multiple roses, work in batches to speed up the process.
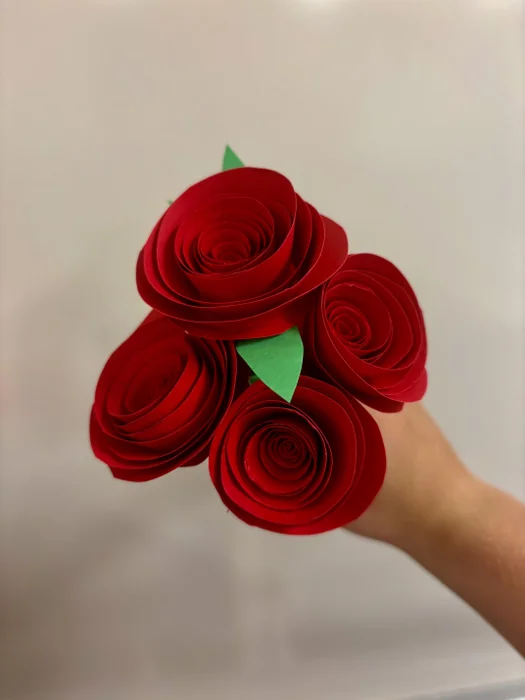
Now you have a stunning set of paper roses to show off or give as gifts! Have fun crafting!