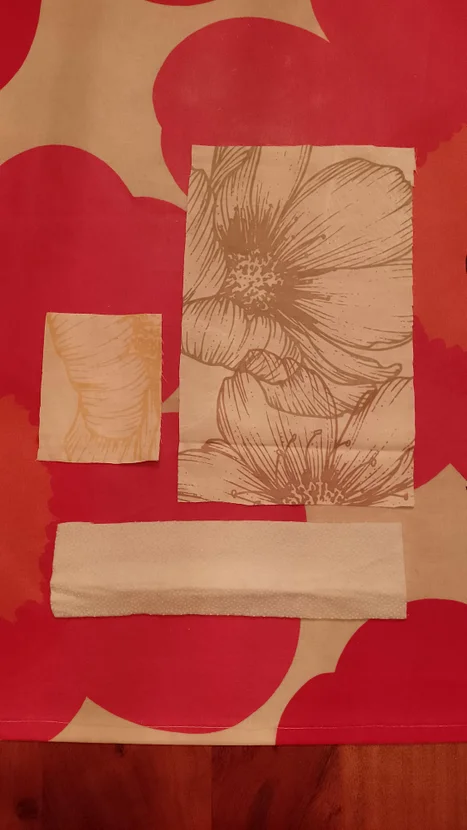
Materials Needed:
- Sewing machine
- Elegant fabric of your choice
- A small piece of batting (optional, unless your fabric is already thick)
- Yarn or thread, and scissors
- A printed pattern or a ruler to draw your own (you’ll only need a few rectangles)
Step 1: Prepare the Pattern
Draw or print the pattern based on your desired bow tie size. Use a ruler if you’re making it manually—it’s just a few simple rectangles.
Step 2: Cut the Fabric and Batting
Use the pattern to cut out your fabric and batting pieces. Ensure precision for a clean finish.
Step 3: Iron the Batting Onto the Fabric
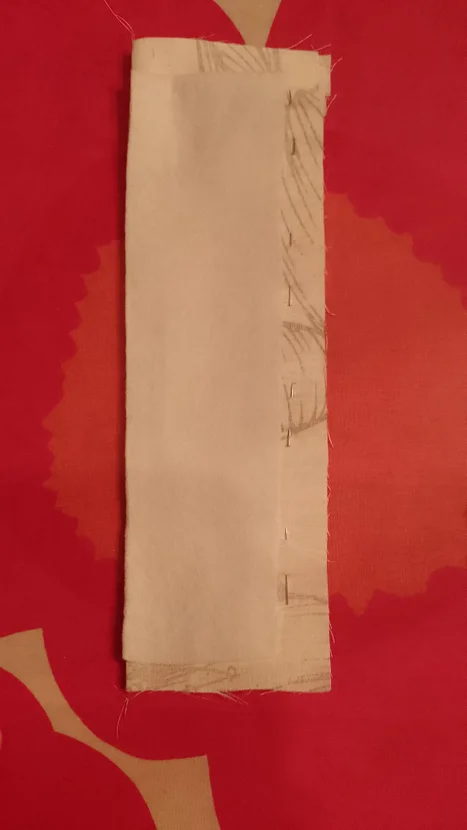
Attach the batting to the upper half of the largest fabric rectangle on its backside. Leave about 1 cm of space above the batting, as this area will be used for stitching in the next step.
Step 4: Sew the Main Piece
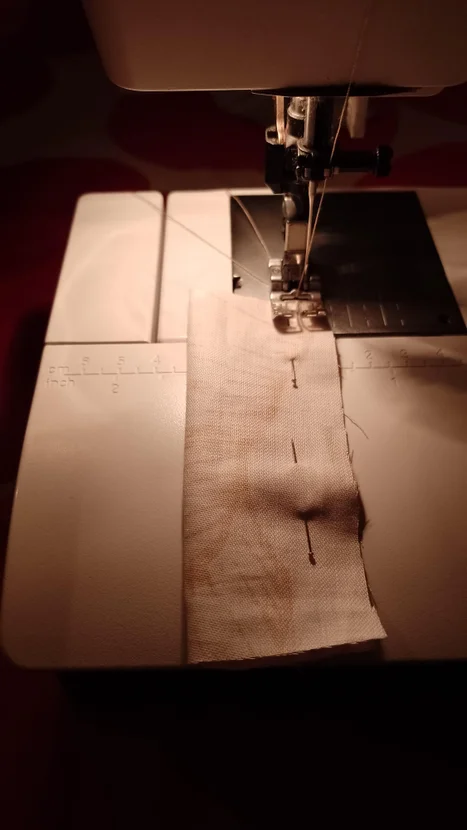
Fold the main rectangle in half lengthwise (right sides facing each other) and sew along the long edge to form a tube.
Step 5: Turn It Inside Out and Close the Ends
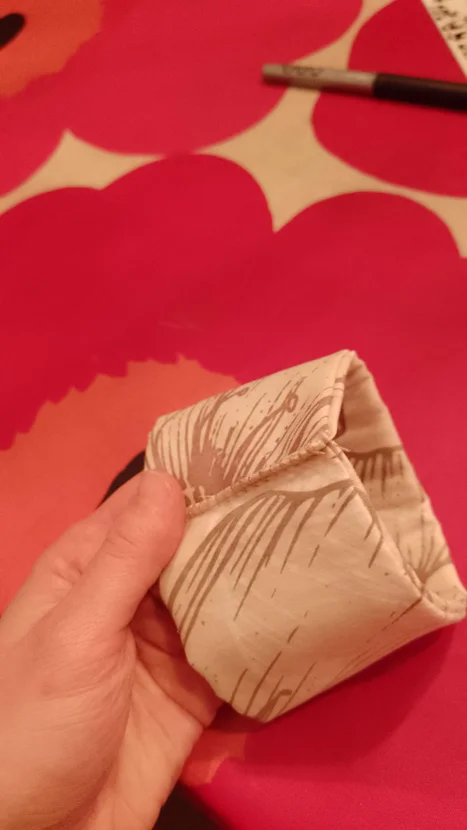
Turn the sewn piece inside out so the right side of the fabric shows. Then, fold and sew the open ends together neatly.
Step 6: Sew the Center Strip
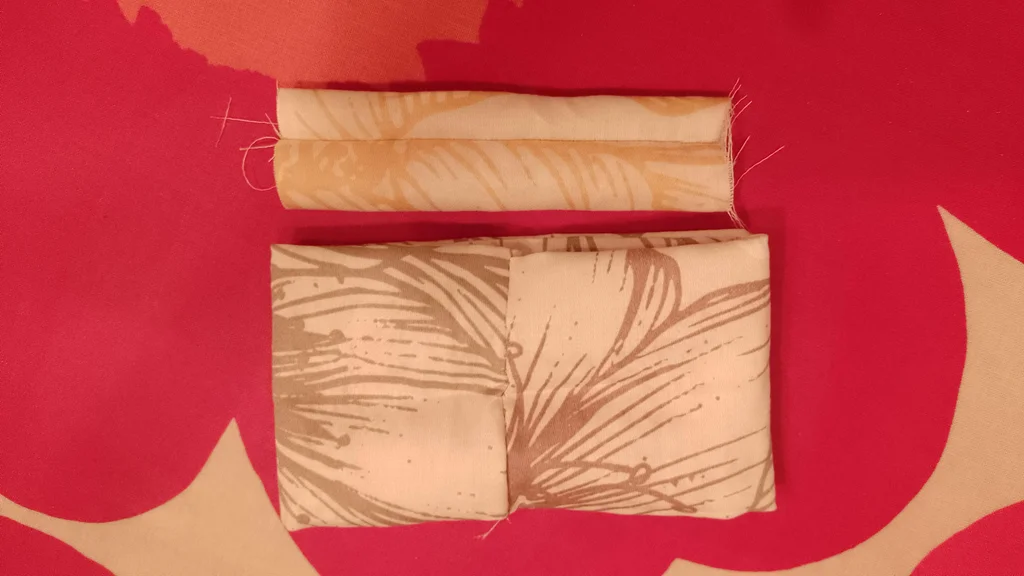
Take the smaller rectangle meant for the center of the bow and sew it into a small loop (or tube), just like you did with the main piece.
Step 7: Shape the Bow Tie
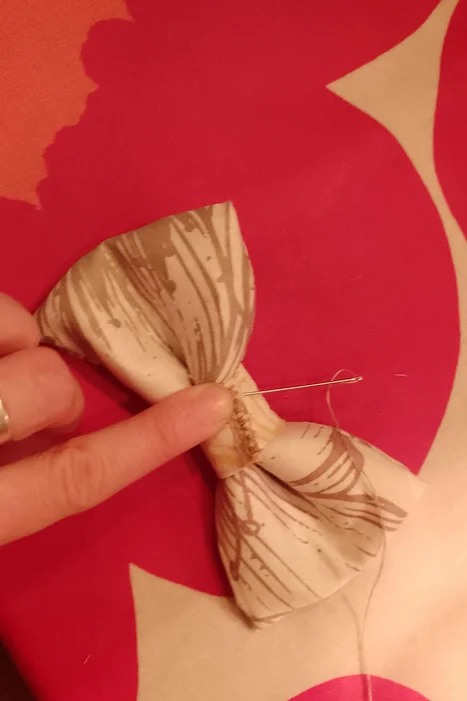
With the seam at the center, flatten the tube and fold it horizontally in the middle. Fold each side again towards the center to create the bow shape. You can use a rubber band temporarily to hold the folds in place.
Step 8: Attach the Center Loop
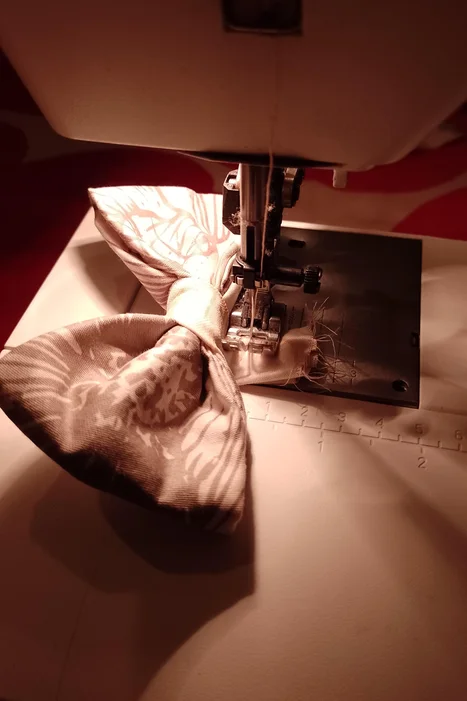
Wrap the center loop around the folded bow and sew the ends at the back. It may not be extremely tight, but that’s okay—secure it with a few hand stitches for a snug finish.
Step 9: All Set!

Your stylish bow tie is now ready to wear! Perfect for a quick, classy look for any event.