Materials Needed:
- 3-in-1 Tool
This versatile tool combines three functions in one: wire bending, metal flattening, and wire cutting. You can find it at most craft or hobby stores. It’s affordable and very useful for jewelry-making projects. - Jewelry Wire
Choose any color you prefer. A flexible beading wire in silver works beautifully for most designs. - Crimp Beads
You’ll only need two for this project, but they usually come in small packs. Sizes 2mm or 2.5mm work well. These are essential for securing the ends of your bracelet. - Jump Ring and Lobster Clasp
These are necessary to fasten your bracelet. They’re usually sold in sets, so you’ll have extras for future projects. - Beads
Pick any type or color, as long as they have holes to thread through the wire. Acrylic beads are a great choice — they are lightweight, more elegant than plastic, and sturdier than glass. - Ruler or Measuring Tape
You’ll need this to measure the length of the bracelet accurately.
Instructions:
Step 1: Measure the Wire
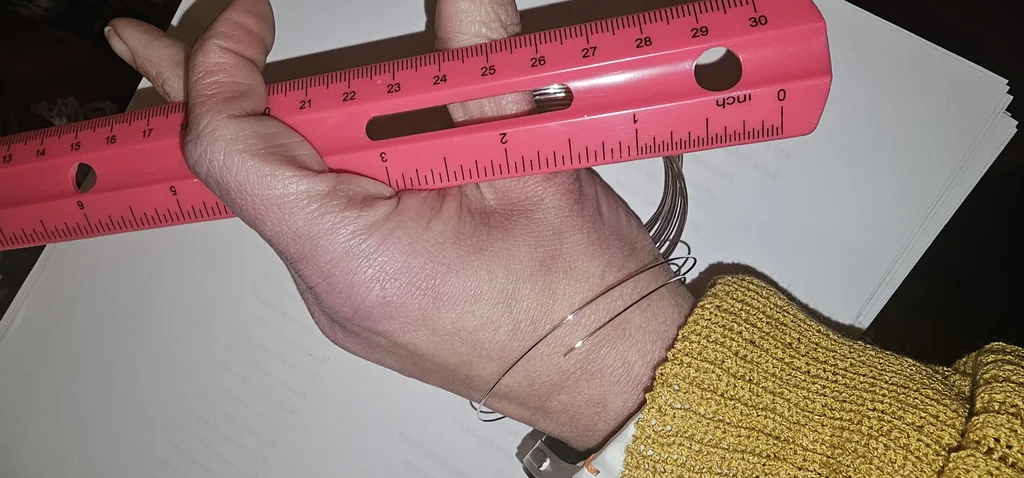
Wrap the wire around your wrist to find your desired bracelet size. Add about 2 inches to each end to allow space for looping and securing the clasp.
Step 2: Cut the Wire

Use the wire cutter on your tool to snip the measured length of wire.
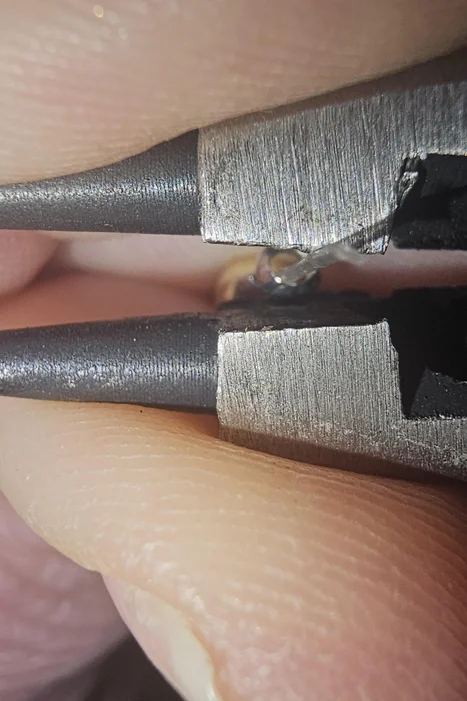
Step 3: Attach Jump Ring and First Crimp Bead

Thread a crimp bead about 1.5 inches from one end of the wire, followed by the jump ring. Loop the wire back through the crimp bead to form a small loop holding the ring. Flatten the crimp bead using the flat edges of the tool to secure it in place.
Step 4: String the Beads
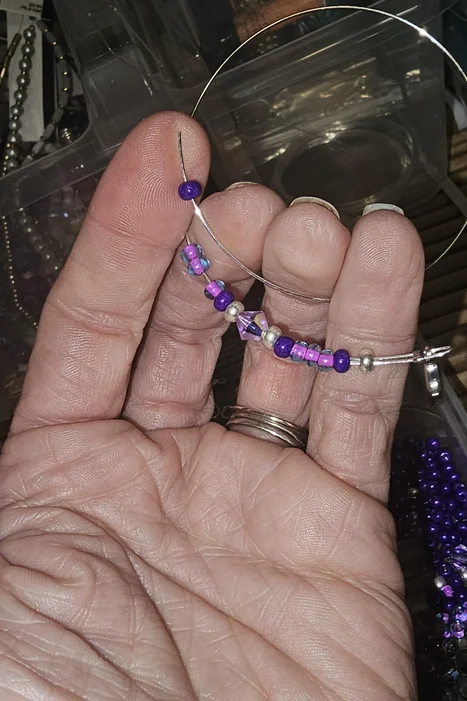
Begin threading the beads onto the wire one by one, until you have about 2 inches of wire remaining.
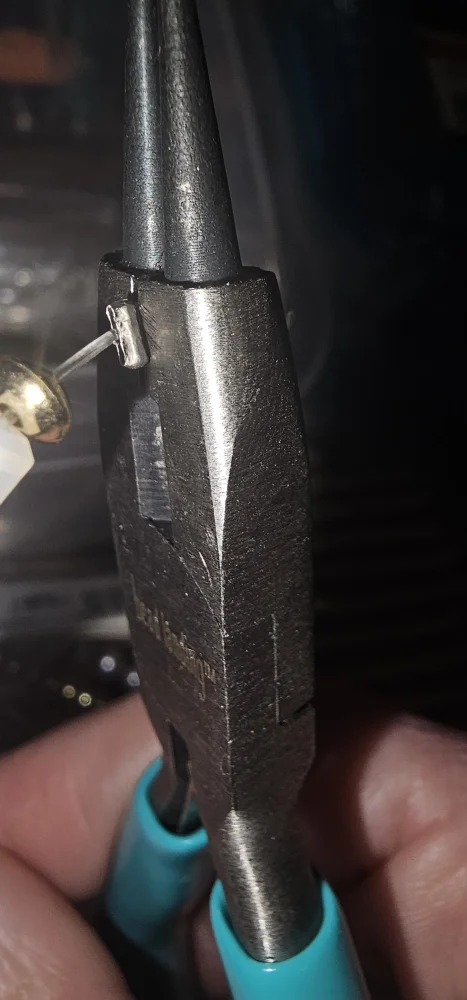
Step 5: Attach Second Crimp Bead and Lobster Clasp
Thread the second crimp bead and the lobster clasp onto the remaining end. Loop the wire back through the crimp bead and flatten it with the tool to secure the clasp.
Step 6: Trim Excess Wire
Use the cutting part of the tool to remove any extra wire sticking out.
Step 7: Show Off Your Bracelet
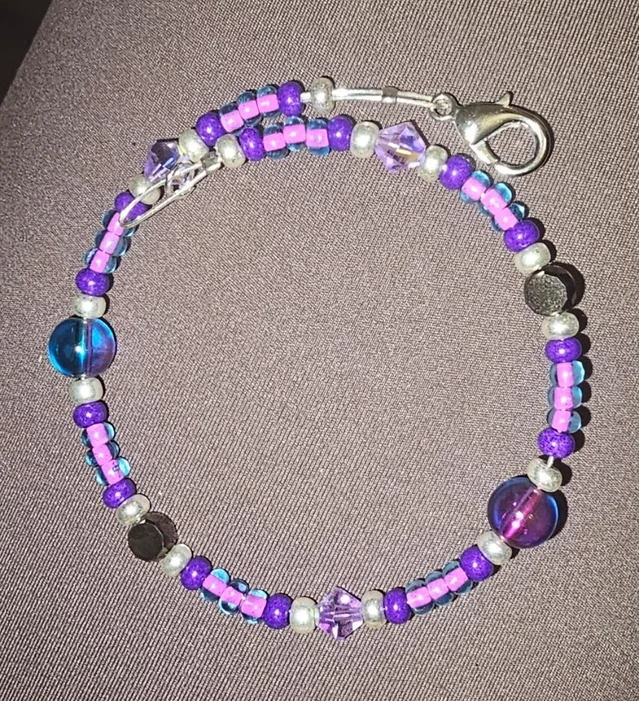
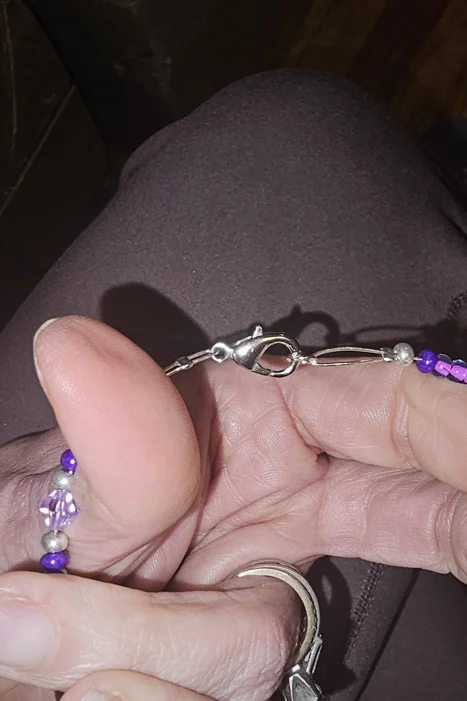
Secure the lobster clasp onto the jump ring. Your handmade bracelet is now ready to wear or gift!