What You’ll Need:
- Shaved ice machine with compatible ice molds
- Ice blocks (made using the included molds)
- Your favorite syrups, juices, or flavored liquids
- Cup, spoon, straw, and toppings of choice (fruits, condensed milk, candy, etc.)
Step 1: Freeze Your Ice Like a Pro
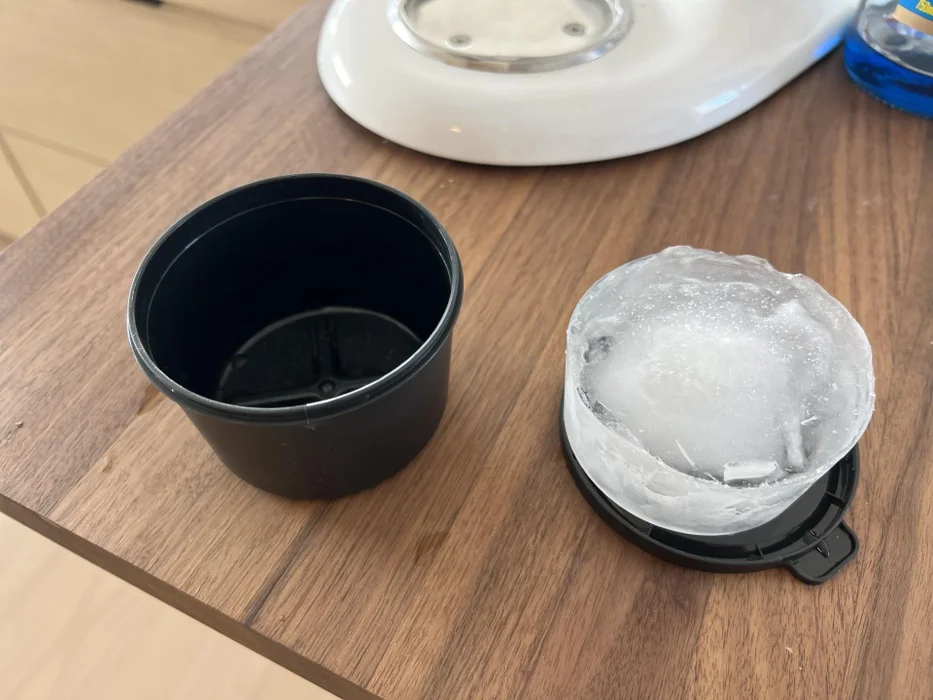
✅ Fill the Molds: Use the provided ice molds and fill them with water, juice, or flavored liquid if you want an extra burst of taste.
✅ Freeze Overnight: Let the molds sit in the freezer for at least 8 hours or overnight. Fully frozen ice works best for a fluffy texture.
✅ Pro Tip: Make extra ice blocks and store them in ziplock bags so you’re always ready for a chilled treat.
Step 2: Set Up Your Shaved Ice Attachment
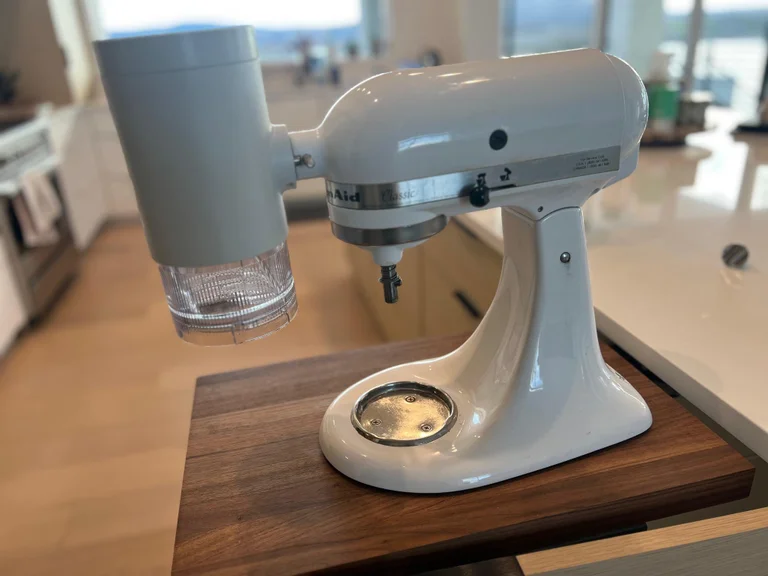
✅ Securely attach the ice shaver to your mixer or machine. Lock everything in place before starting to avoid messes or surprise snowstorms in your kitchen.
Step 3: Shave That Ice
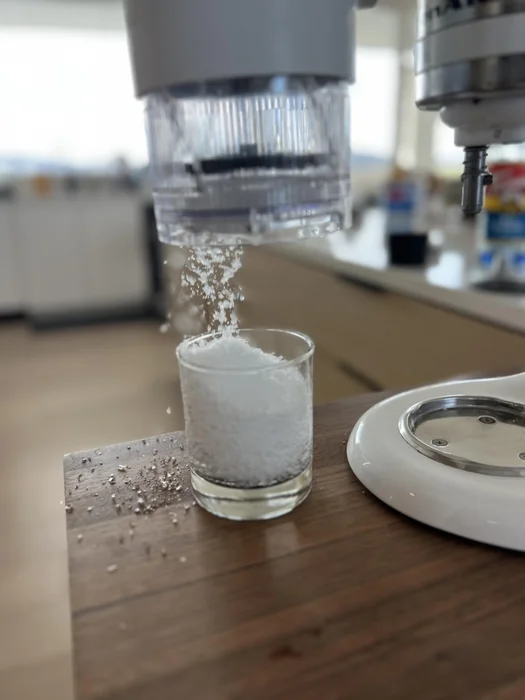
✅ Place one frozen block into the shaver. Turn your machine to the recommended low setting.
✅ If everything is set correctly, you’ll see soft, fluffy shaved ice falling into your bowl or cup. If it’s coming out in chunks, double-check your settings—or embrace the texture for a slush-style treat.
Step 4: Add Flavor
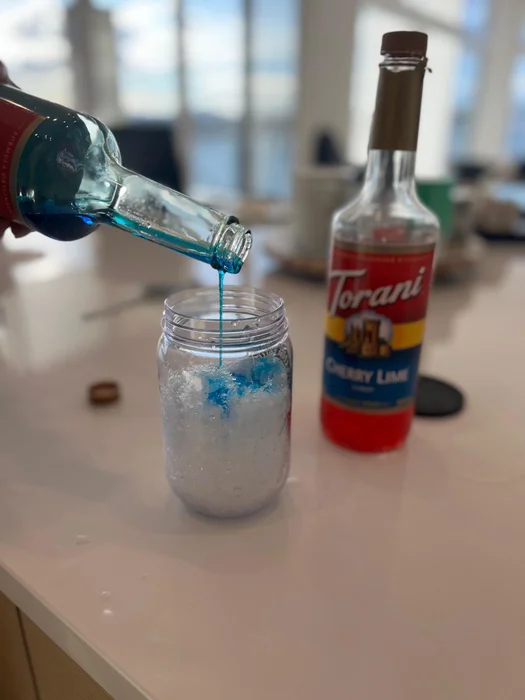
✅ Drizzle your chosen syrup, juice, or flavoring over the shaved ice.
✅ Gently stir using a spoon or straw to distribute the flavor evenly. Don’t overdo it—too much liquid can turn your fluffy ice into a mushy puddle.
Step 5: Time to Enjoy

✅ Grab a spoon or straw, dig in, and enjoy your homemade frozen delight!
✅ Bonus: Snap a pic before it melts—because aesthetic food moments are a must. Just pace yourself if you want to avoid the inevitable brain freeze.